Author Guide
The Author role is granted to all users of a given journal whey they begin a submission. This guide will help you make a submission in Janeway.
Creating a New Submission
There are various pages throughout Janeway what allow you to start a new submission notably:
- From the drop down in the top right hand corner where you name is displayed
- From the Author block on the Dashboard (see image below)
- From the Submission page on the main site if it is enabled
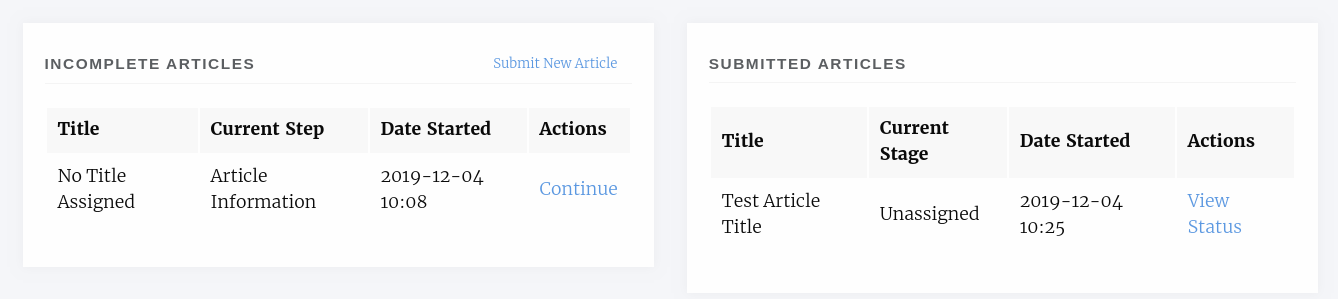
The author block on the dashboard
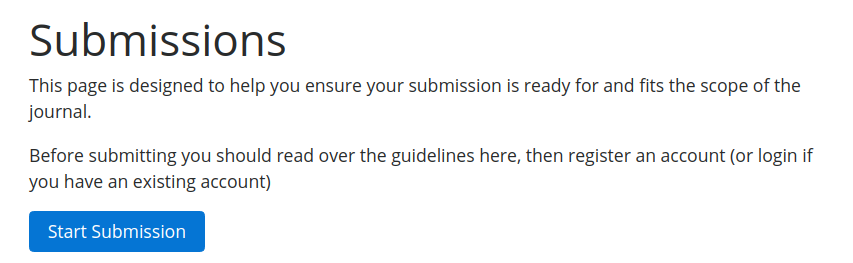
Start Submission button on main Submission page
Notes on the Submission System
We’ve taken great pains to make our submission system as easy to use as possible but acknowledge that it may not be as easy for some to use as others. We’ve put this guide together to help anyone who has trouble submitting a paper to a Janeway journal. Generally all Janeway journals submission systems will look the same, along the top of the page you will see a timeline style bar that has 5 stages. You can use this bar to jump back and forward along the submission process if you need to make changes to an earlier screen. Once a stage has been completed it will turn into a link for you to click on (see image below).
The Author Agreement
The first page of a submission displays some author agreement text and various text areas for the you to complete. It should be noted that not all of the following fields may be displayed on the journal you are submitting to as they can be disabled individually.
- Publication Fees
- This field will inform you of any publication fees and may list any APCs that apply to the submission.
- Submission Checklist
- The Submission Checklist will display any steps you need to take before you submit your manuscript, this may be about the format of the paper.
- Copyright Notice
- The Copyright Notice should tell you what licence the paper will be published under and any rights you may need to sign over to the publisher.
- Competing Interests
- If you have any competing interests that the Editors should take into account when examining your paper.
- Comments to the Editor
- If you have anything you’d like to tell the Editors, this field is like a Covering Letter.
If enabled the Publication Fees, Submission Checklist and Copyright notice fields will be required, that is to say you _must_ check the boxes in order to complete a submission. If you have any issues with any of the clauses it is suggested you get in touch with the editor to discuss them before proceeding.
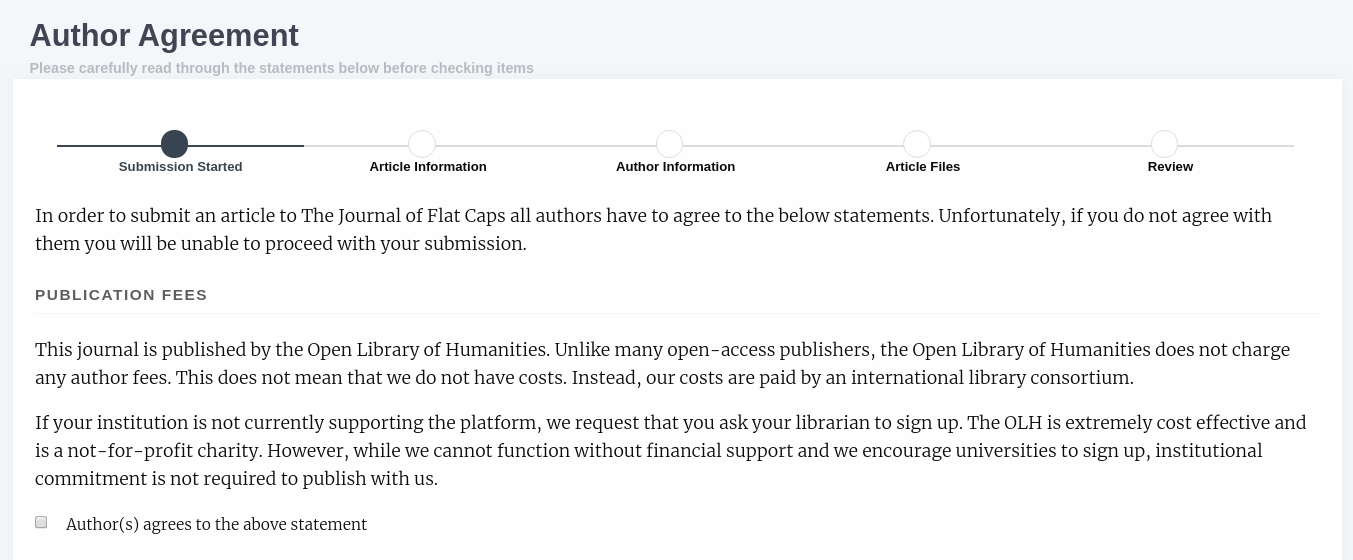
Publication Fees displayed on an OLH journal Author Agreement page
Article Information
The Article Information page displays a form with a series of input boxes. This is where you will insert the majority of your paper’s metadata including:
- Title
- This field is required on all Janeway journals
- Subtitle
- Abstract
- Individual journals can make the abstract field required or not
- Language
- The language option is usually disabled if the journal only accepts one language
- Section
- Denotes what type of article the paper is (eg. Research, Review, Editorial etc.)
- License
- The license option is usually disabled if the journal only accepts one license
- Keywords
- Type your keyword and press enter and it will be turned into a box with an X icon, click the X icon if you want to remove the keyword. You can have multi word keywords (see keyword image below)
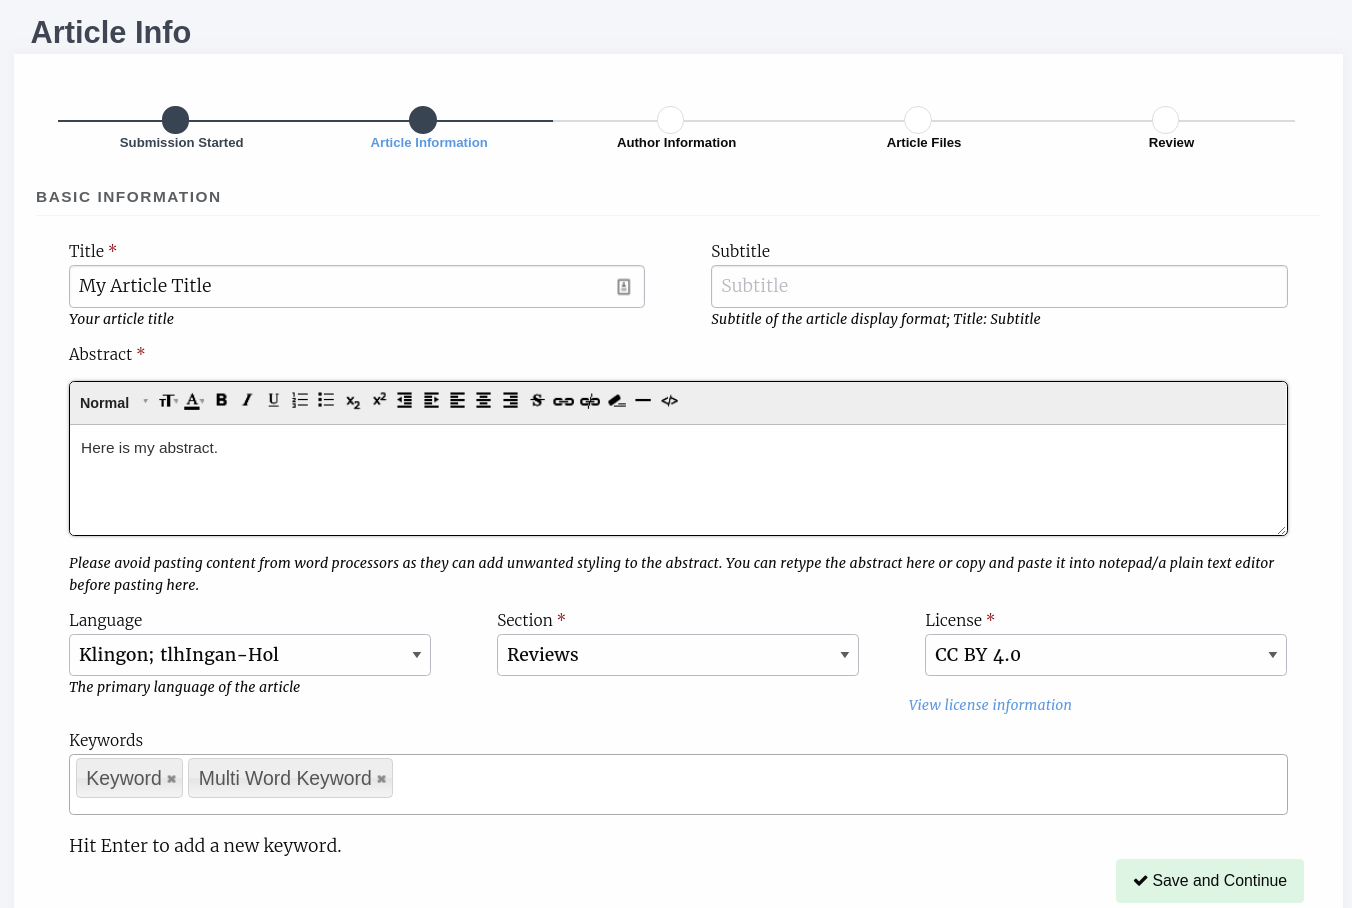
The Article Information page filled with example data
Individual journals can add more fields to this page and they will be displayed under a heading “Additional Fields”
Author Information
On the Author Information page we can add the authors of our paper. One some journals the submitting user is added as an author automatically, on others you will have the option to add yourself as an author using a button.
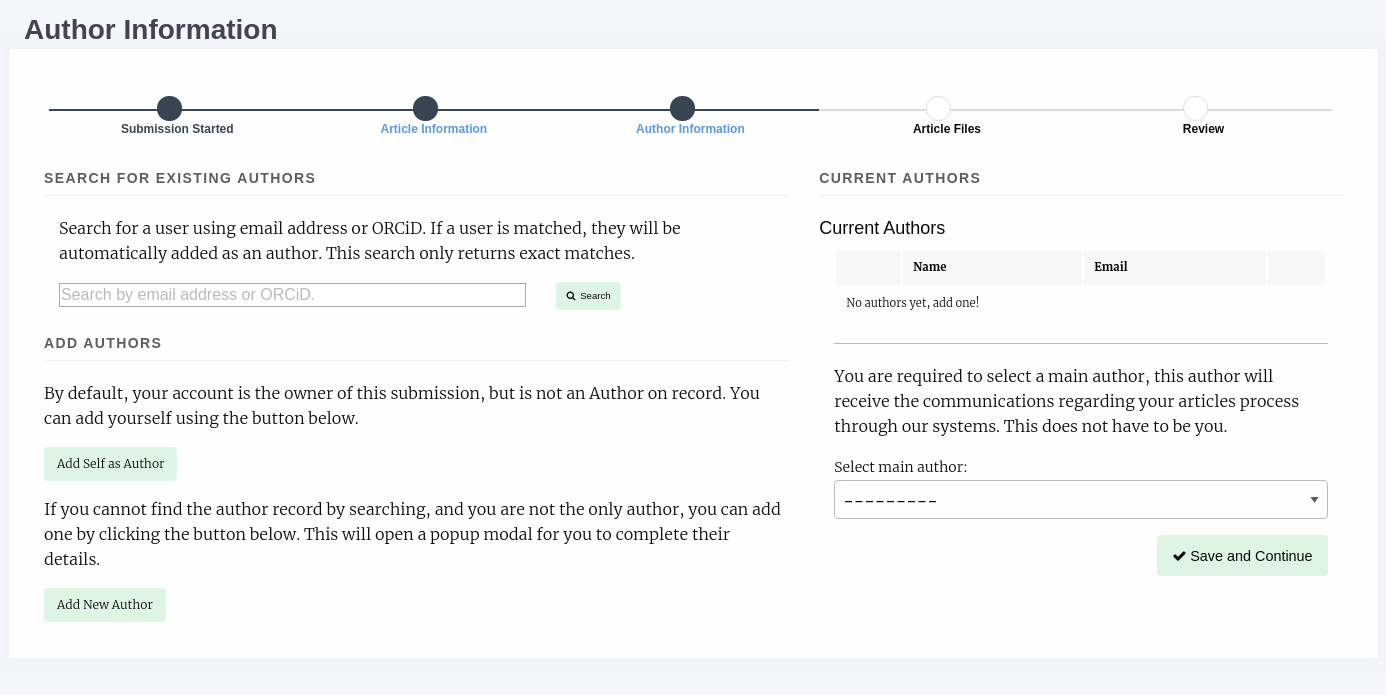
In this example journal the submitting user has not been added as an author but can use the “Add self as author” button to add themselves
To add more authors we can either search the journal’s author list or create a new author. Note that if you don’t search first and use the Add New Author button to add an author who’s email address is in the database this will not create a new record but add their existing record to your submission.
- Search
- You can search the journal’s database of authors using email address or, even better ORCID. If a matching record is found they will be added as a co-author. If not, you will be notified that no account has been found.
- Add Authors
- You can use the Add New Author button to create a new author record for your co-authors if they don’t have one already. Clicking the button shows a popup with a series of fields to complete. The following fields are mandataory in Janeway:
- First Name
- Last Name
- Institution (can be supplied as N/a or Independent for those who do not have one)
- Email Address
- An account will also be generated so that the co-author can log in to the journal to check the progress of the paper. They will need to use the Password Reset function to get access to their account.
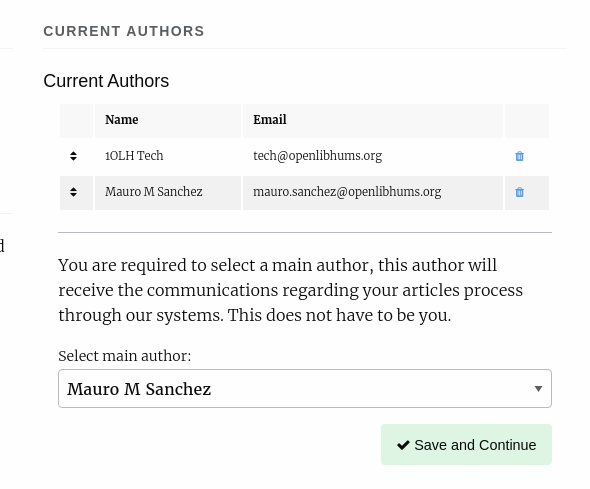
There are now two authors added to the submission. You can use the trash icon to delete authors and the arrow handles to drag and drop to re-order the authors
Article Files
Here you can upload your manuscript and any figure or data files that go along with it.
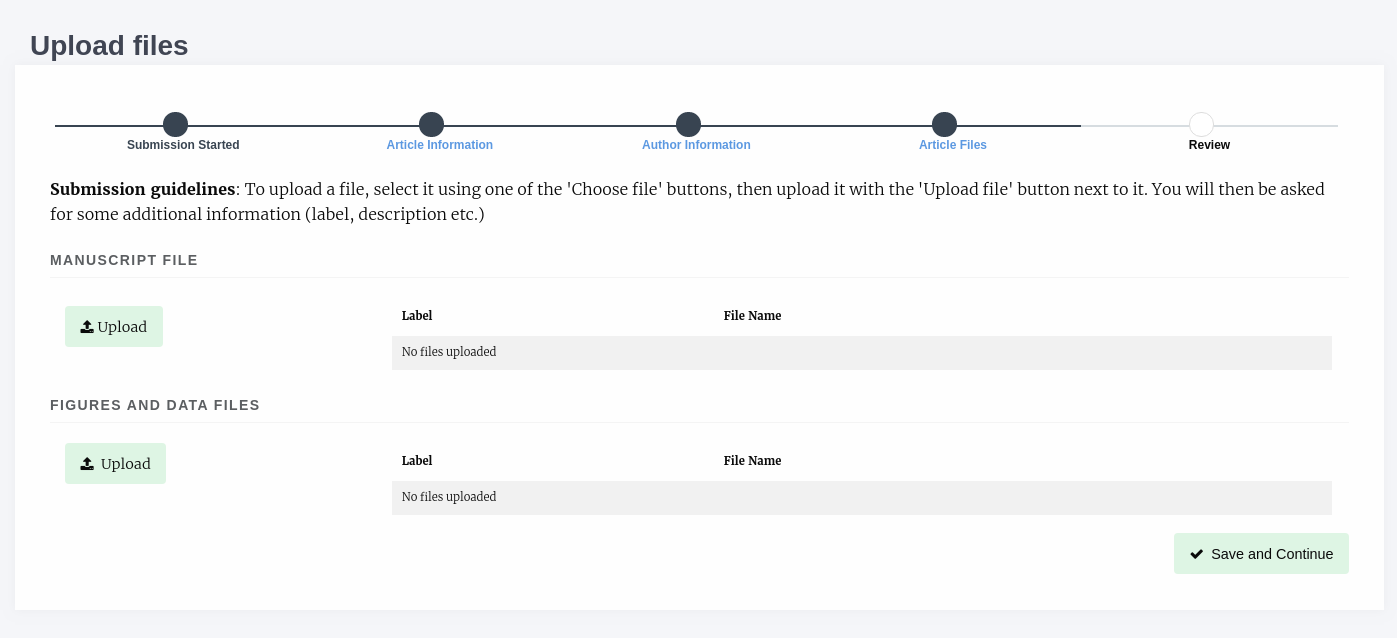
You can upload your Manuscript and seperately any files that go along with your paper
Select one of the Upload buttons and a popup will appear, you can select the file using the “Choose file”. You are required to add a label but the description field is optional.
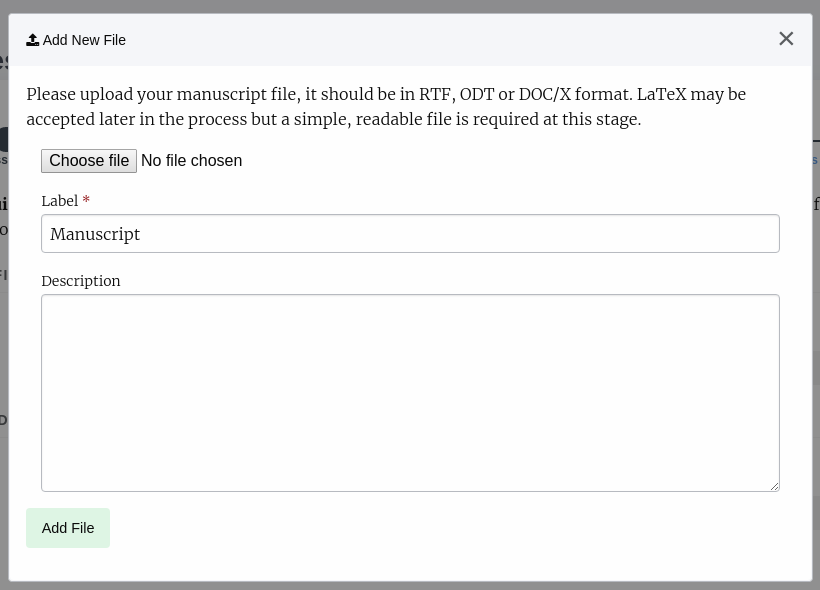
Submitting a Manuscript file
You can only add one Manuscript file but can repeat the upload process for figures and date files. The label of figure files should match the image in the manuscript (figure 1, figure 2 etc).
Review
The review page displays a run down of the article you’ve submitted, metadata, files and authors. Once you have reviewed your submission you can complete or jump back to other stages to make changes.
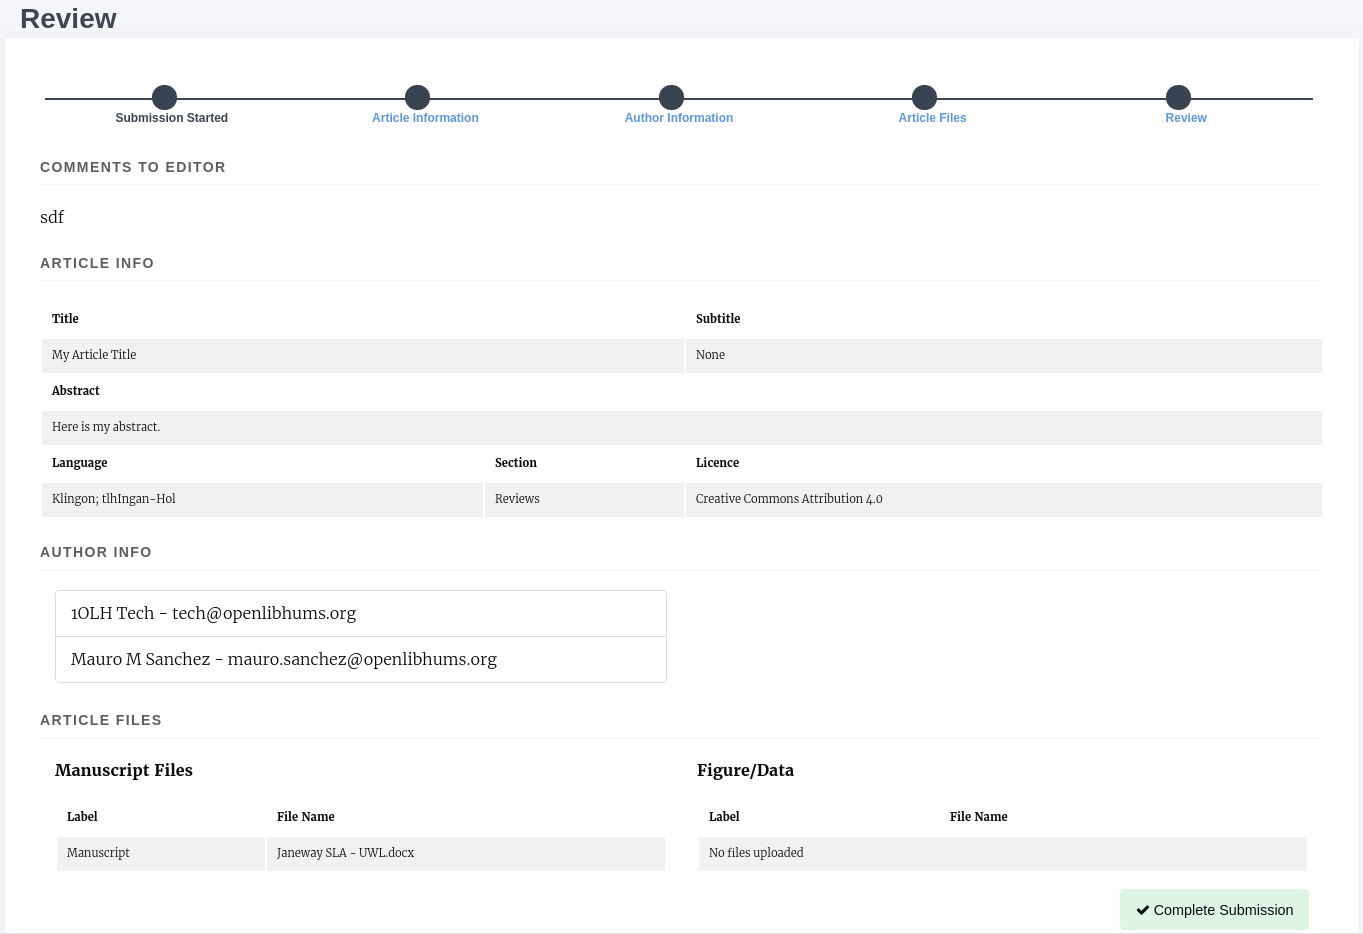
The review page for the article
Revisions
Editors may request that authors revise their files based on recommendations from reviewers. There are two types of Revision decision:
- Minor Revisions.
- Major Revisions.
With Major Revisions you may find that the Editor will send the paper for a second round of review once you have completed your revisions.
When an Editor request revisions there are two ways to start this process:
- Click the link in the email sent to you.
- Via the Journal Dashboard:
- Login to the Journal
- Go to the journal Dashboard
- Scroll down to “Submitted Articles”
- Click the “Revision Request” button next to the article.
Once you have accessed the revision request you will be able to view available peer reviews and download, revise or upload new files. Once you’ve uploaded a revised manuscript and any additional image files you can fill in the covering letter and save the revision.
Proofing
After your paper has been accepted and copyediting, the editors might send you a request to proof the ‘Typesetting Files’. These files are the final finals that will be made publicly available once the article gets published on the journal.
For journals that publish content in multiple media formats (HTML, PDF, XML…) It is important that you check all these files before publication. Authors are not expected to be able to open and read XML/HTML code. Instead, Janeway provides a ‘preview’ button were you will be able to previsualise the article as it will be rendered once it gets published.
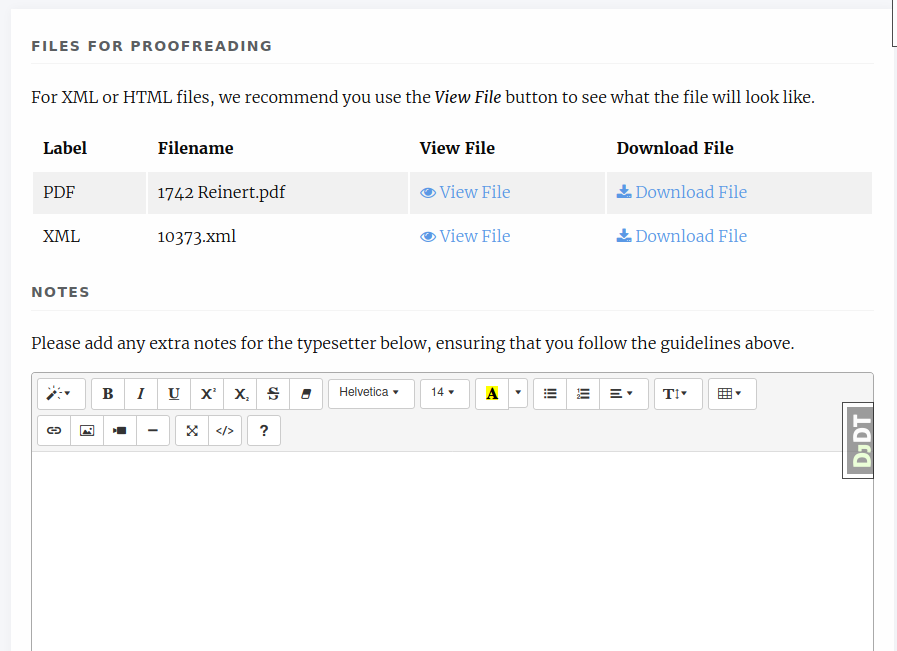
Typeset Files download and preview
Once you’ve previewed the files, you can provide feedback in two ways:
- Fill in the rich-text “Notes” box. This form element supports rich-text as well as pasting in screenshots or other types of images

Providing proofreading notes via Rich-text editor
- Upload an annotated file. In the case of PDF files, you can download the file and make annotations offline using specialized software. when this is done, you can upload the annotated file for the editor to review.
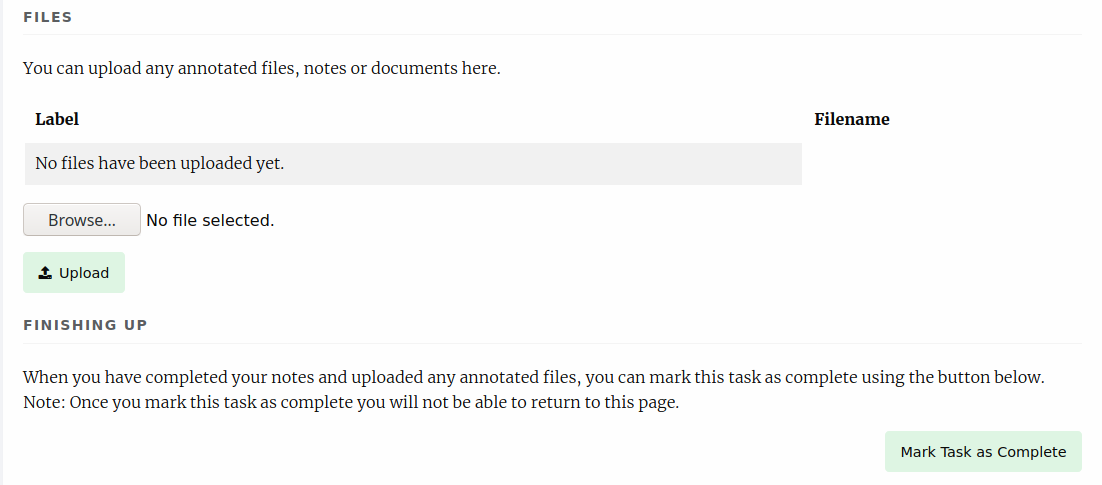
Providing proofreading notes by uploading an annotated file.
It is important to proof all the files thoroughly in order to avoid unnecessary follow-up rounds that will potentially cost more time and money to the journal’s editorial team and publishers.
Once you have provded your feedback, it is possible that the editorial team might send you another proofing tasks once the requested corrections have been applied. In that case, the process to follow is the same as explained above.